
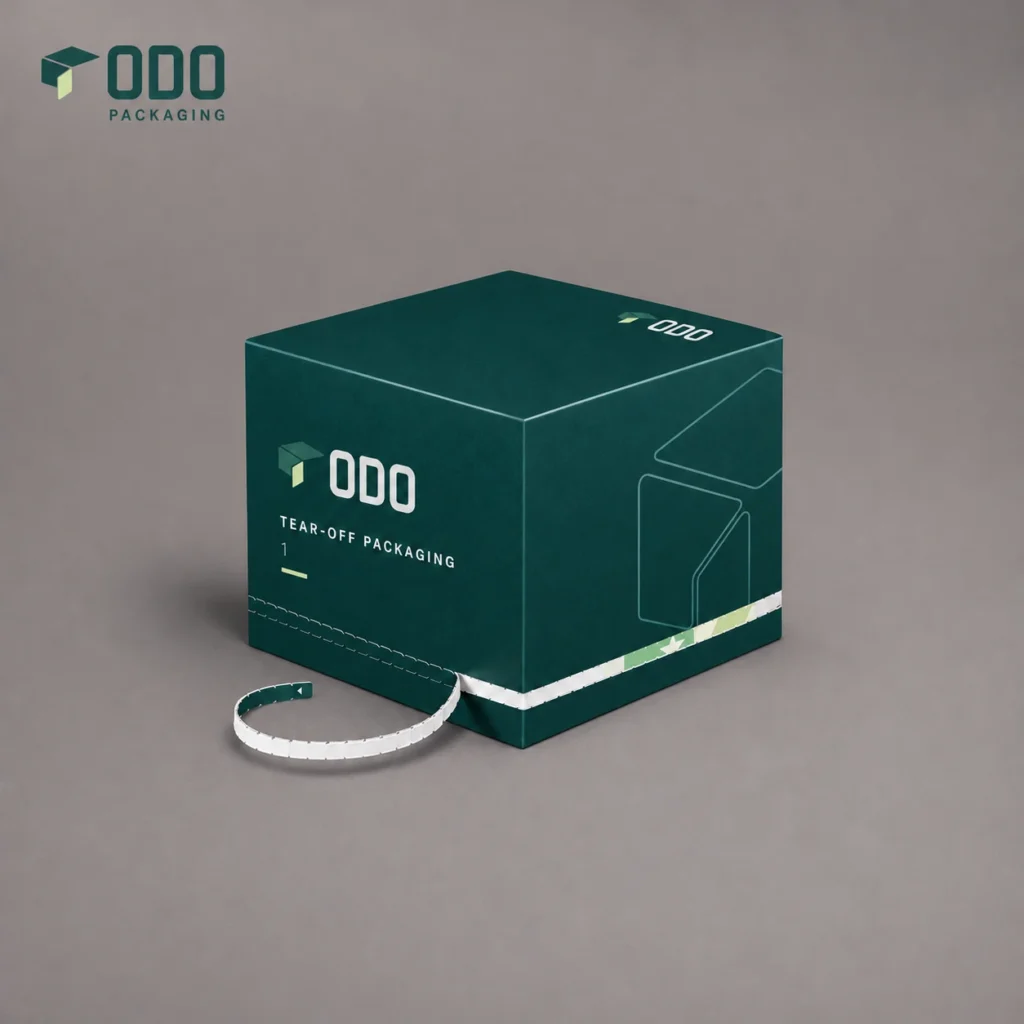
Organized artwork makes a packaging discussion easier. Before you send a file, gather the current logo, final wording, product information and any references that explain the finish you want. Keeping these items together reduces uncertainty during proof review.
Use the correct dieline
Work from the dieline supplied for your chosen structure. Check its dimensions and identify the front, back, side panels and closure areas. Do not resize a dieline to make artwork fit without first confirming the change with your packaging team.
Keep important details clear
Place essential copy where it will remain legible after folding and assembly. Follow the supplied guidance for bleed, safe areas, colours and file format. If you need a barcode, confirm the required size and placement with the relevant provider.
Send the latest brand assets
Supply an editable or vector logo when available, along with the fonts or outlined text permitted by your design workflow. Explain any special finish separately so it is not confused with ordinary printed artwork.
Review the proof carefully
Check spelling, contact information, orientation and panel placement. Ask questions about anything that is unclear and keep a record of the approved version. A digital proof shows the proposed layout; discuss samples or colour expectations where your project needs them.
Visit ODO’s branding services or send your packaging brief for assistance.